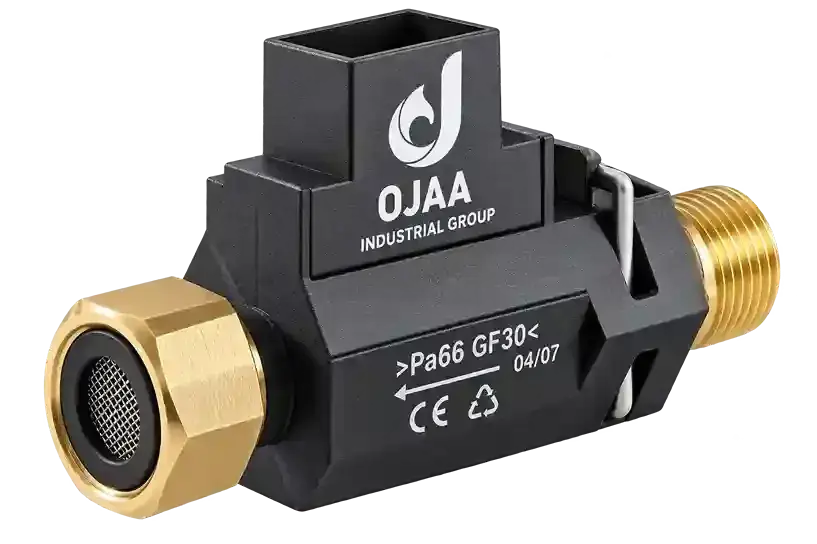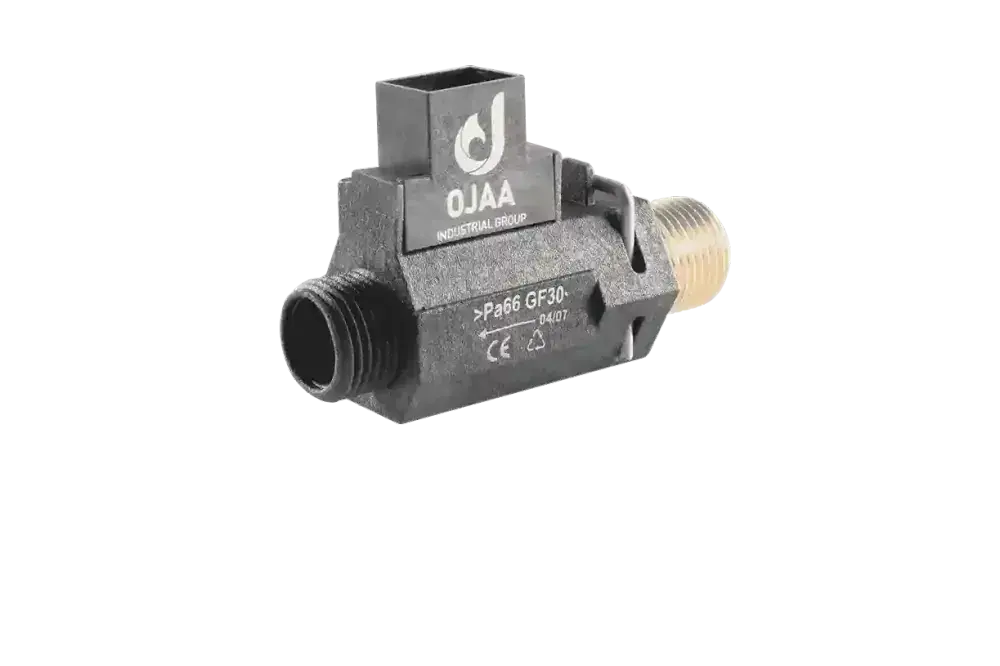
Utilizing a boiler flow switch repair kit is a highly efficient and economical method for restoring the hydraulic flow detection circuit. Frequently, pressure drops or the burner failing to ignite upon opening a hot water tap do not indicate a total failure of the brass housing. Instead, the issue stems from the wear and tear of internal moving parts. By replacing these consumable components using the kit, you eliminate the need to completely dismantle the primary hydraulic connections.
What is Inside a Flow Switch Repair Kit?
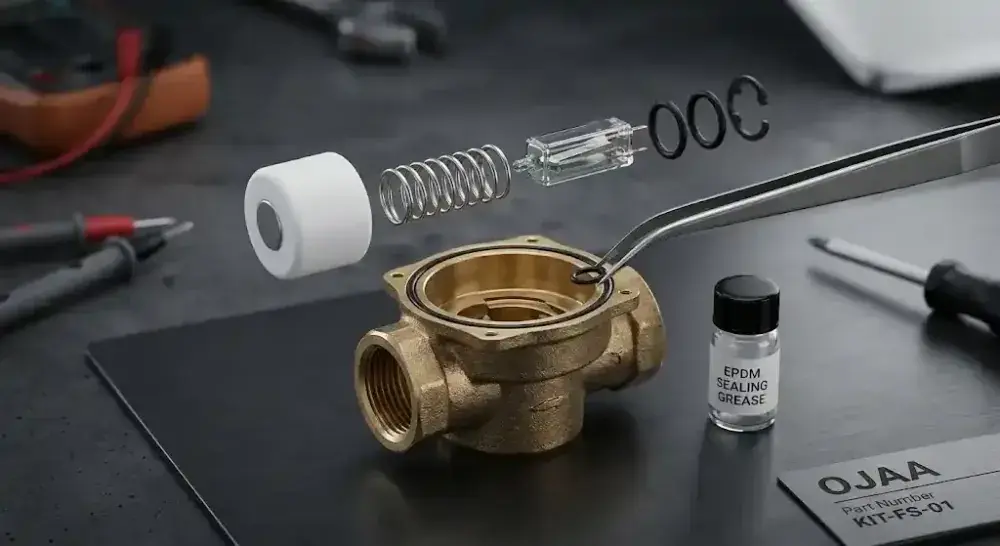
A boiler flow switch repair kit contains the complete set of internal consumable components for the housing, typically including the Teflon magnetic float, a glass reed relay, a return spring, a retaining clip, and EPDM O-rings. This kit enables technicians to overhaul the flow detection mechanism without discarding the main brass body. Teflon Magnetic Float: This cylindrical component contains an internal neodymium magnet. It moves upwards with water pressure, generating the magnetic field necessary to trigger the switch. Glass Reed Relay: A highly sensitive electromechanical sensor consisting of two ferromagnetic blades hermetically sealed inside a glass tube. It closes the circuit when exposed to the float's magnetic field. Stainless Steel Return Spring: Its primary function is to push the float back down to its resting position instantly after the hot water tap is closed, signaling the board to cut the flame. Retaining Clip and O-rings: The EPDM O-ring ensures a watertight seal at the cap, while the metal or plastic clip securely locks the entire assembly inside the brass housing.
Symptoms of Float Jamming and Reed Relay Failure
Flow switch jamming occurs when hard water scale, particularly calcium and magnesium, accumulates between the float and the inner wall of the housing, restricting the float's free movement. This mechanical failure directly disrupts the boiler's control board logic. Burner Ignition Failure: When a hot water tap is opened, the jammed float cannot rise. Consequently, the reed relay remains open, and the control board does not detect the demand for hot water. Boiler Boiling Over (Stuck in DHW mode): If the return spring is weakened or the float seizes in the upper position, the burner remains ignited even after closing the tap. This rapidly trips the high-limit thermostat, causing a system lockout. Erratic Flame Cycling: This symptom often indicates a weakened magnet within the float or microscopic fractures in the glass reed relay blades, resulting in intermittent pulsing rather than a solid electrical connection.
Workshop Procedure for Float and Reed Relay Replacement
To utilize the repair kit and overhaul the components, it is not necessary to drain the entire central heating circuit. Simply isolating the cold mains inlet and observing strict safety protocols is sufficient. Never perform a live 220V test on the reed relay. Step One: Disconnect the boiler from the electrical supply and fully close the cold water isolation valve under the appliance. Relieve the domestic water pressure by opening the lowest hot water tap in the property. Step Two: Carefully unclip the wiring harness from the reed relay. Use pliers or a flathead screwdriver to pull out the plastic or metal retaining clip securing the flow switch cap. Step Three: Extract the cap along with the old reed relay. Next, use long-nose pliers to pull out the scaled magnetic float and the return spring from the brass housing. Step Four: Thoroughly descale the inside of the housing using a descaling solution and a small bristle brush. Insert the new float, spring, and the O-ring (lubricated with silicone grease) in the exact standard orientation. Step Five: Install the new reed relay, lock the retaining clip back into place, reconnect the wiring harness, and slowly open the cold water valve to test the switch operation with active flow.
Flow Switch Repair Kit Selection Checklist
Exact Boiler Brand, Series, and Model: Ensure the kit's components are dimensionally identical to the factory housing. Previous Part Number: Verify the technical part number to prevent purchasing incompatible spares. Reed Relay Type: Note the length of the glass ampoule and the contact resistance rating compatible with the main board. Float Material: Ensure the replacement uses anti-scale Teflon (PTFE) and a high-temperature resistant magnet. Sealing O-ring Material: Confirm the kit includes an EPDM O-ring, which is strictly required for hot water applications. Spring Specifications: Verify that the spring's length and K-factor perfectly match the local mains water pressure requirements.
Final Summary
Employing a boiler flow switch repair kit not only significantly reduces servicing costs but also mitigates the risk of damaging adjacent connecting pipes associated with removing the entire brass body. During replacement, meticulous descaling of the housing and verifying the new reed relay via a cold continuity test guarantee a successful, long-lasting repair.